Step-by-Step Guide to Installing M5 Nuts on Hotends
If you're a 3D printing enthusiast or someone involved in DIY projects, you might come across the need to install M5 nuts on hotends. M5 nuts are commonly used in 3D printers to secure various components, including the hotend thermistor. In this step-by-step guide, we'll walk you through the process of installing M5 nuts on hotends, as well as discuss M5 nut dimensions and the importance of proper installation.

Understanding M5 Nut Dimensions
Before diving into the installation process, it's essential to familiarize yourself with M5 nut dimensions. M5 refers to the thread size, and it's a standard metric size. The key dimensions you need to know for M5 nuts are:
- Thread Diameter (d): 5mm
- Thread Pitch (P): 0.8mm (This indicates the distance between threads.)
- Nut Height (H): Typically around 4mm
These dimensions are crucial for selecting the right nuts and ensuring a proper fit during installation.
Tools and Materials You'll Need
To install M5 nuts on hotends, you'll need a few tools and materials:
- M5 Nuts: Ensure you have the correct quantity needed for your project.
- Wrench or Pliers: You'll need a tool to hold and tighten the nuts. Adjustable pliers or a wrench that fits the M5 nut dimensions will work.
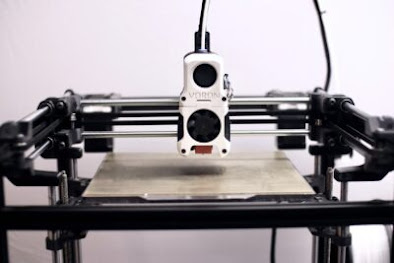
- Hotend Assembly: This is the component where you'll be installing the nuts. Make sure it's clean and ready for assembly.
- Hotend Thermistor (Optional): If you're installing M5 nuts to secure a hotend thermistor, ensure you have the thermistor and associated wires ready.
Step-by-Step Installation Guide
Now, let's walk through the process of installing M5 nuts on hotends:
Step 1: Prepare Your Workspace
Begin by setting up a clean and organized workspace. Make sure you have all the necessary tools and materials within reach.
Step 2: Identify the Mounting Points
Locate the mounting points on your hotend where you need to install the M5 nuts. These points may vary depending on your specific project or the type of hotend you're using.

Step 3: Insert the M5 Nuts
Hold an M5 nut with your wrench or pliers, ensuring that the threaded side is facing the direction you want to tighten. Carefully insert the nut into the mounting hole on the hotend. If you're securing a hotend thermistor, ensure that the wires are properly aligned.
Step 4: Secure the Nut
Once the M5 nut is in place, use your wrench or pliers to tighten it. Turn the nut clockwise (righty-tighty) to secure it firmly onto the hotend. Be cautious not to overtighten, as this could damage the hotend or the nut.
Step 5: Repeat as Needed
Repeat the process for any additional M5 nuts you need to install on other mounting points of the hotend. Ensure each nut is securely fastened.
Step 6: Test the Installation
After all the M5 nuts are in place, perform a test to ensure that they are securely holding the components. If you installed the nuts to secure a hotend thermistor, double-check the thermistor's position and wiring.
Step 7: Make Necessary Adjustments
If you find that any M5 nuts are not adequately tightened or if you need to make adjustments, use your wrench or pliers to do so carefully.
Importance of Proper Installation
Properly installing M5 nuts on hotends is crucial for several reasons:
- Security: Securely fastened M5 nuts ensure that components are held firmly in place, preventing them from coming loose during operation.
- Accuracy: In 3D printing and other precision projects, even slight movements or misalignment can result in errors or defects. Properly installed nuts maintain accuracy.
- Safety: Loose components can lead to safety hazards, especially in high-temperature applications like 3D printing. Secure nuts help prevent accidents.
- Longevity: Proper installation reduces wear and tear on components, prolonging their lifespan.
Conclusion
Installing M5 nuts on hotends is a fundamental skill for 3D printing enthusiasts and DIY project enthusiasts. Understanding M5 nut dimensions and following a step-by-step guide for installation ensures that your components are secure, accurate, and safe. Whether you're securing hotend thermistors or other parts of your project, taking the time to install M5 nuts correctly is essential for success.
Always remember to exercise caution when using tools like wrenches or pliers, as overtightening can lead to damage. Additionally, periodically check your installations for tightness and make any necessary adjustments to ensure continued performance and safety in your projects.

Comments
Post a Comment