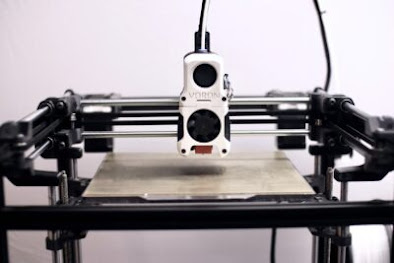
How to Install BTT Octopus Voron 2.4 Wiring for Your 3D Printer in Easy Steps?
If you own a 3D printer, you know that wiring can be a hassle. But with the BTT Octopus Voron 2.4 wiring kit, you can make the process much easier. In this article, we'll go over step-by-step instructions on how to install the BTT Octopus Voron 2.4 wiring for your 3D printer. Whether you're a seasoned 3D printer enthusiast or a beginner, you'll find these instructions easy to follow.

Why Use the BTT Octopus Voron 2.4 Wiring Kit?
Before we dive into the installation instructions, let's take a moment to talk about why you should consider using the BTT Octopus Voron 2.4 wiring kit. This kit is designed to make wiring your 3D printer much easier and more organized. The kit includes everything you need to wire your printer, including pre-crimped connectors, wire loom, and a wiring diagram. By using this kit, you can save time and ensure that your wiring is neat and organized.
Tools You'll Need
Before you start the installation process, you'll need a few tools. Here's a list of what you'll need:
- Wire cutters
- Wire strippers
- Crimping tool
- Soldering iron and solder
- Heat shrink tubing
- Zip ties

Step-by-Step Installation Instructions
Now that you have your tools ready, let's get started on the installation process.
Step 1: Remove the Old Wiring
The first step is to remove the old wiring from your 3D printer. This may require you to disassemble some parts of your printer, so make sure you have the necessary tools and instructions before you begin.
Step 2: Prepare the Wires
Once you've removed the old wiring, it's time to prepare the wires from the BTT Octopus Voron 2.4 kit. Use your wire cutters and strippers to trim the wires to the appropriate length and strip the ends.
Step 3: Crimp the Connectors
Using your crimping tool, crimp the pre-crimped connectors onto the ends of the wires. Make sure you crimp them securely so they don't come loose later.
Step 4: Solder the Wires
Next, use your soldering iron and solder to solder the wires to the appropriate components in your 3D printer. Follow the wiring diagram that comes with the kit to make sure you're connecting everything correctly.
Step 5: Secure the Wiring
After you've soldered all the wires, use heat shrink tubing to cover the soldered connections and protect them from damage. Then, use zip ties to secure the wiring in place and keep it organized.
Step 6: Test Your Printer
Finally, it's time to test your printer and make sure everything is working correctly. If you've followed the wiring diagram and instructions correctly, your printer should work just fine. If you run into any issues, refer back to the instructions to see if you missed anything.
Conclusion
Wiring your 3D printer can be a frustrating and time-consuming process, but with the BTT Octopus Voron 2.4 wiring kit, it doesn't have to be. By following the step-by-step instructions in this article, you can easily install the wiring kit and enjoy a more organized and efficient printer.
Comments
Post a Comment